How to use n8n: build, test and publish your first Webhook workflow
Learn how to use n8n by building a greeting endpoint with Webhook, Edit Fields and Respond to Webhook, then test, publish, troubleshoot and share it with a team.

Checked against the n8n documentation on .
How to use n8n: what you'll build and what you need
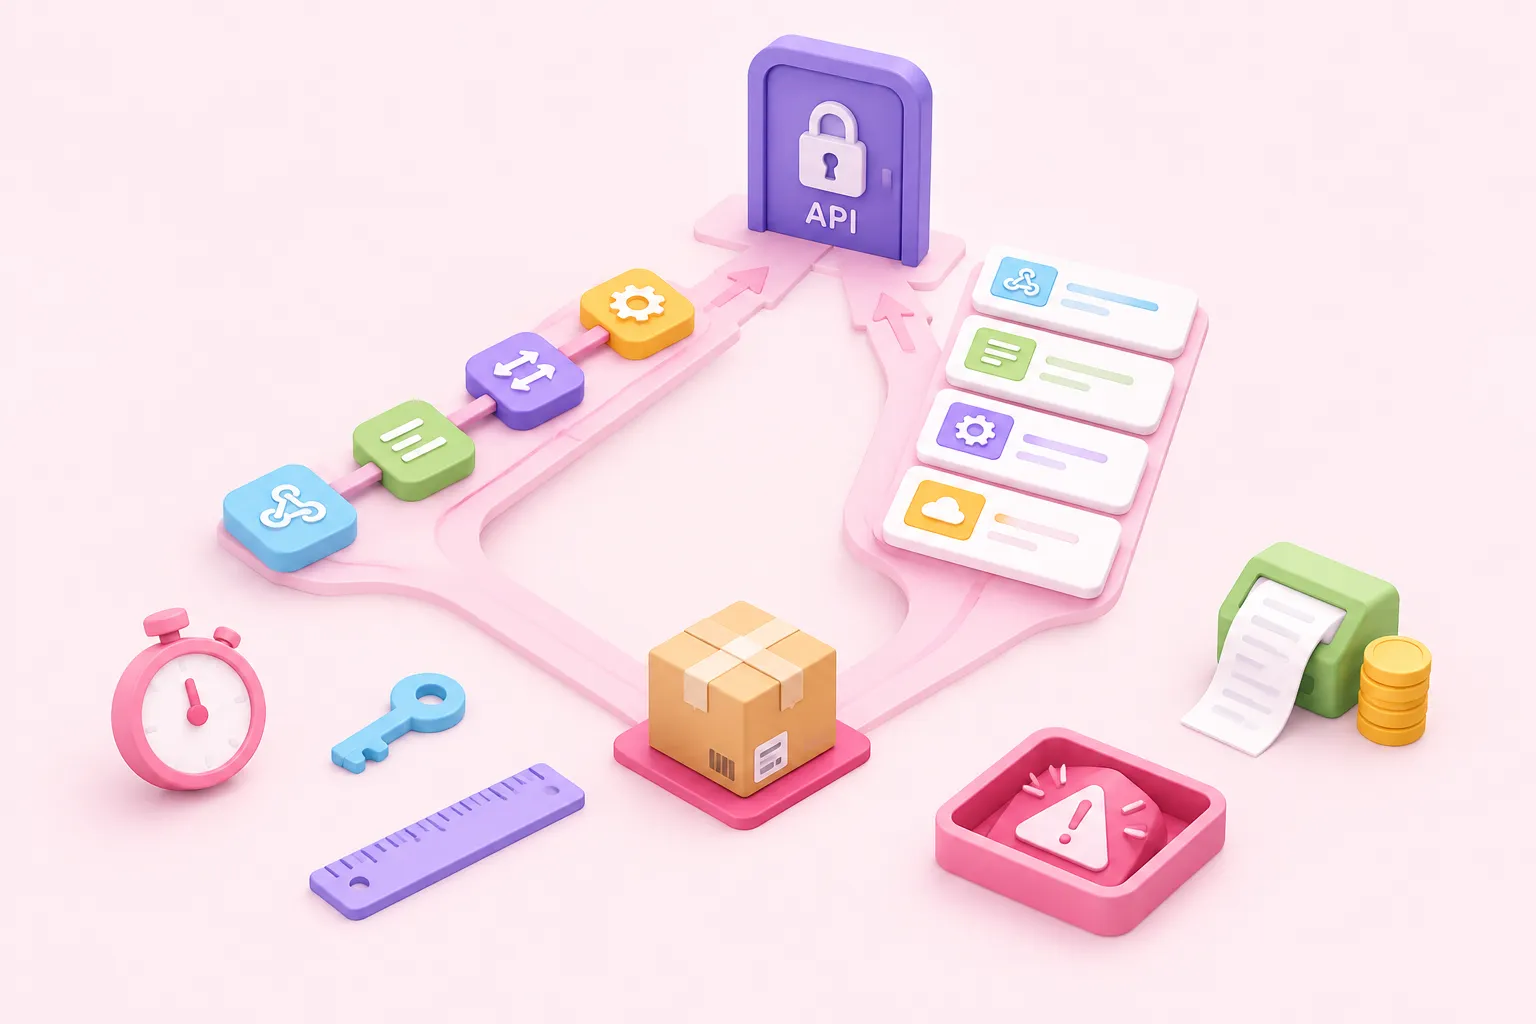
The quickest way to learn how to use n8n is to build something small. In this tutorial you'll make an API-like endpoint: someone sends a request to a web address, and your workflow sends back a short greeting. It uses three nodes, Webhook, Edit Fields (Set) and Respond to Webhook. You then test it, publish it and prepare it for a team.
A common beginner question is what is n8n workflow in practice, and the n8n meaning of the term is straightforward. It's a chain of nodes. A trigger starts a run, the middle nodes shape the data and a final node does something with it. Here, the trigger is an incoming HTTP request, and the result goes back to the caller.
You need an n8n instance, either n8n Cloud or self-hosted. The n8n docs say that if you self-host on localhost, you have to run n8n in tunnel mode before the Webhook node can receive requests. This tutorial doesn't cover the tunnel commands; see n8n's self-hosting documentation for them. You'll also need a terminal with curl, or another HTTP client, to send test requests.
One note before you start: these steps come from n8n's official documentation. They haven't been tested firsthand for this article.
Sources: Workflow development | Nodes | n8n Docs, Common issues | Nodes | n8n Docs
Steps 1–3: Build the Webhook, Edit Fields and Respond to Webhook chain
Learning how to use n8n starts with building the workflow in order, from the trigger, which here is the Webhook node that starts the workflow. Setting up credentials for the Webhook node's authentication options is covered on a separate docs page.
The Edit Fields step comes with a caveat. n8n's documented Edit Fields recipe for this uses the When Last Node Finishes response mode, not Respond to Webhook. The steps below apply the same field setup to this workflow, so treat that step as a suggestion and check the result when you test.
- Add a Webhook node and choose an authentication option (Basic, Header, JWT or none).
- In the Webhook node, set Respond to Using Respond to Webhook node.
- Connect an Edit Fields (Set) node. Add a String field with a name and a greeting value, and turn on Keep Only Set.
- Connect a Respond to Webhook node at the end. It runs once, on the first incoming item.
Sources: Webhook | Nodes | n8n Docs, Respond to Webhook | Nodes | n8n Docs, Common issues | Nodes | n8n Docs
Steps 4–5: Test with the test URL, then publish

Start with the test URL and publish only after you get back the response you expect. The diagram shows the order to follow.
From test request to live endpoint
- Listen: Select Listen for test event on the Webhook node.
- Send: Call the test URL with curl within the 120-second window.
- Check: Confirm the greeting comes back and the data appears in the editor.
- Publish: Save and publish the workflow so n8n registers the production webhook.
- Monitor: Call the production URL and review runs in the Executions tab.
Part of learning how to use n8n is knowing that production data doesn't appear in the editor, so check the Executions tab for live runs instead. If people outside your team will call the endpoint, we suggest turning on the authentication option from step 1 before you publish.
Sources: Common issues | Nodes | n8n Docs, Webhook | Nodes | n8n Docs, Workflow development | Nodes | n8n Docs
Troubleshooting common webhook problems
Most problems at this stage come down to timing, errors or request size. The table lists the documented causes, with our suggestions for what to try.
| Symptom | Likely cause | What to try |
|---|---|---|
| Test request not captured | The 120-second listening window closed | Select Listen for test event again, then resend |
| HTTP 500 response | Workflow errored before Respond to Webhook ran | Open the failed run and fix the node that errored |
| HTTP 524 on n8n Cloud | No response within 100 seconds (Cloudflare timeout) | Respond sooner or shorten the work before the response |
| Large request rejected | Payload above the 16MB default | Self-hosted: raise the limit with N8N_PAYLOAD_SIZE_MAX |
Sources: Common issues | Nodes | n8n Docs, Respond to Webhook | Nodes | n8n Docs, Webhook | Nodes | n8n Docs
When a team relies on it: projects, roles and credentials
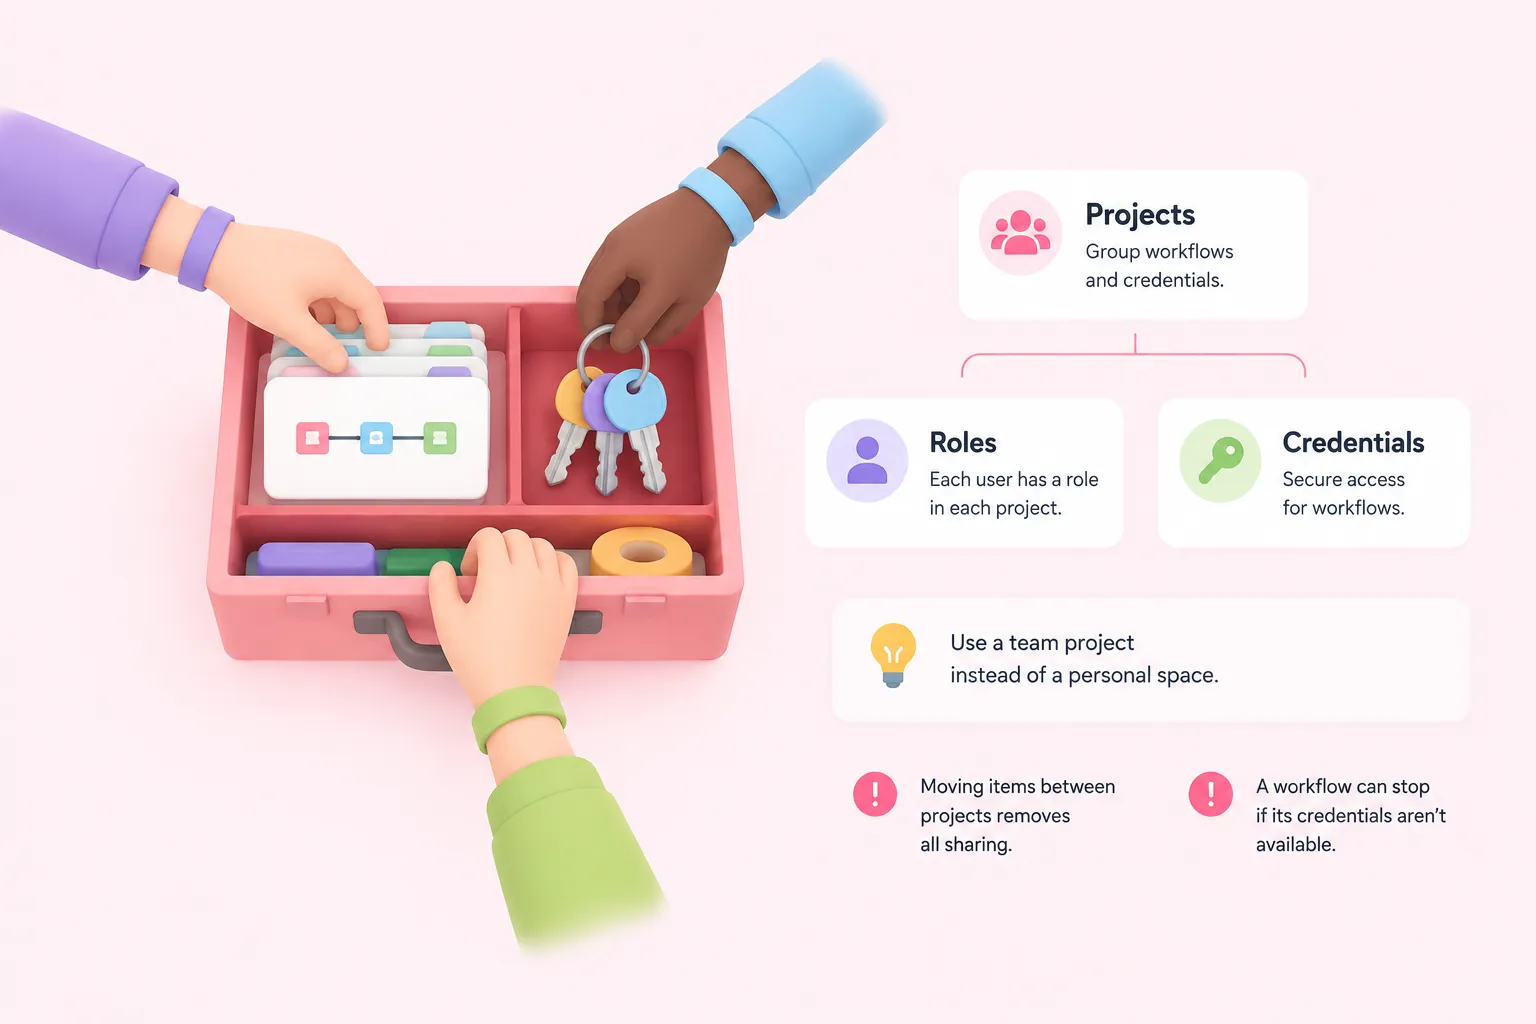
According to the n8n docs, RBAC and projects are available on all n8n Cloud plans and on the self-hosted Registered Community, Business and Enterprise editions. Projects group workflows and credentials and give each user a role in each project. The number of projects and roles you get depends on your plan.
We suggest building a shared workflow inside a team project rather than in a personal space. Take care when moving workflows or credentials between projects: the move removes all existing sharing. A workflow can also stop working if the credentials it needs aren't available in the new project.
Sources: Organize work in projects | Administer | n8n Docs