

Build and debug your first trigger-to-action workflow in n8n
A beginner tutorial for building a Manual Trigger → HTTP Request → Edit Fields workflow, mapping a JSON title, and tracing incorrect output node by node.

Checked against the cited sources on .
Goal, prerequisites, and expected result
In this tutorial, you will build a small workflow with three connected nodes: Manual Trigger, HTTP Request, and Edit Fields. The workflow will request post 1 from JSONPlaceholder, receive a JSON object, and copy its title into the final node’s output. The exercise is deliberately compact so you can concentrate on how data moves between nodes.
You need access to an n8n environment. The official beginner material recommends n8n Cloud for new users and notes that a free trial is available, although you can use another environment you already have. Interface labels can vary by version, so a control described here as Execute Workflow or Test workflow may have slightly different wording in your installation.
The expected final result is an item produced by Edit Fields that contains a title field mapped from the HTTP response. Do not expect a particular sentence in that field: the supplied JSONPlaceholder example confirms the structure of the response but abbreviates the title itself. Verify the live value shown in your own execution data.
Step 1: Create the workflow and add a Manual Trigger
From your n8n workspace, choose Start from Scratch to create a workflow. Give it a descriptive name if you want, such as Post title mapping practice. A clear name is helpful when you later return to compare test executions, but it does not affect how the workflow runs.
Add a Manual Trigger as the first node. This trigger is intended for interactive execution: selecting Execute Workflow starts the workflow manually. That makes it suitable for a learning exercise because you control when each test begins and can inspect the resulting data before changing the next node. Use only one Manual Trigger in this workflow.
At this stage, execute the trigger once if your version allows it. The trigger may produce little data of interest, and that is fine. Its job here is to provide a deliberate starting point for the request that follows.
Step 2: Configure the post request
Add an HTTP Request node after the Manual Trigger and confirm that the two nodes are connected. In the HTTP Request parameters, select GET as the method. The node provides both a method selector and a URL field for the endpoint.
In the URL field, enter the secure JSONPlaceholder host, jsonplaceholder.typicode.com, followed by the path /posts/1. Keeping the method and destination separate in your mental checklist is useful: GET describes the requested operation, while the URL identifies post 1.
Run the HTTP Request node together with its upstream trigger. Depending on your n8n version, you may execute the node, execute the workflow, or use a similarly named test control. The important result is fresh execution data from the request, not the exact label on the button.
Step 3: Inspect the current JSON data
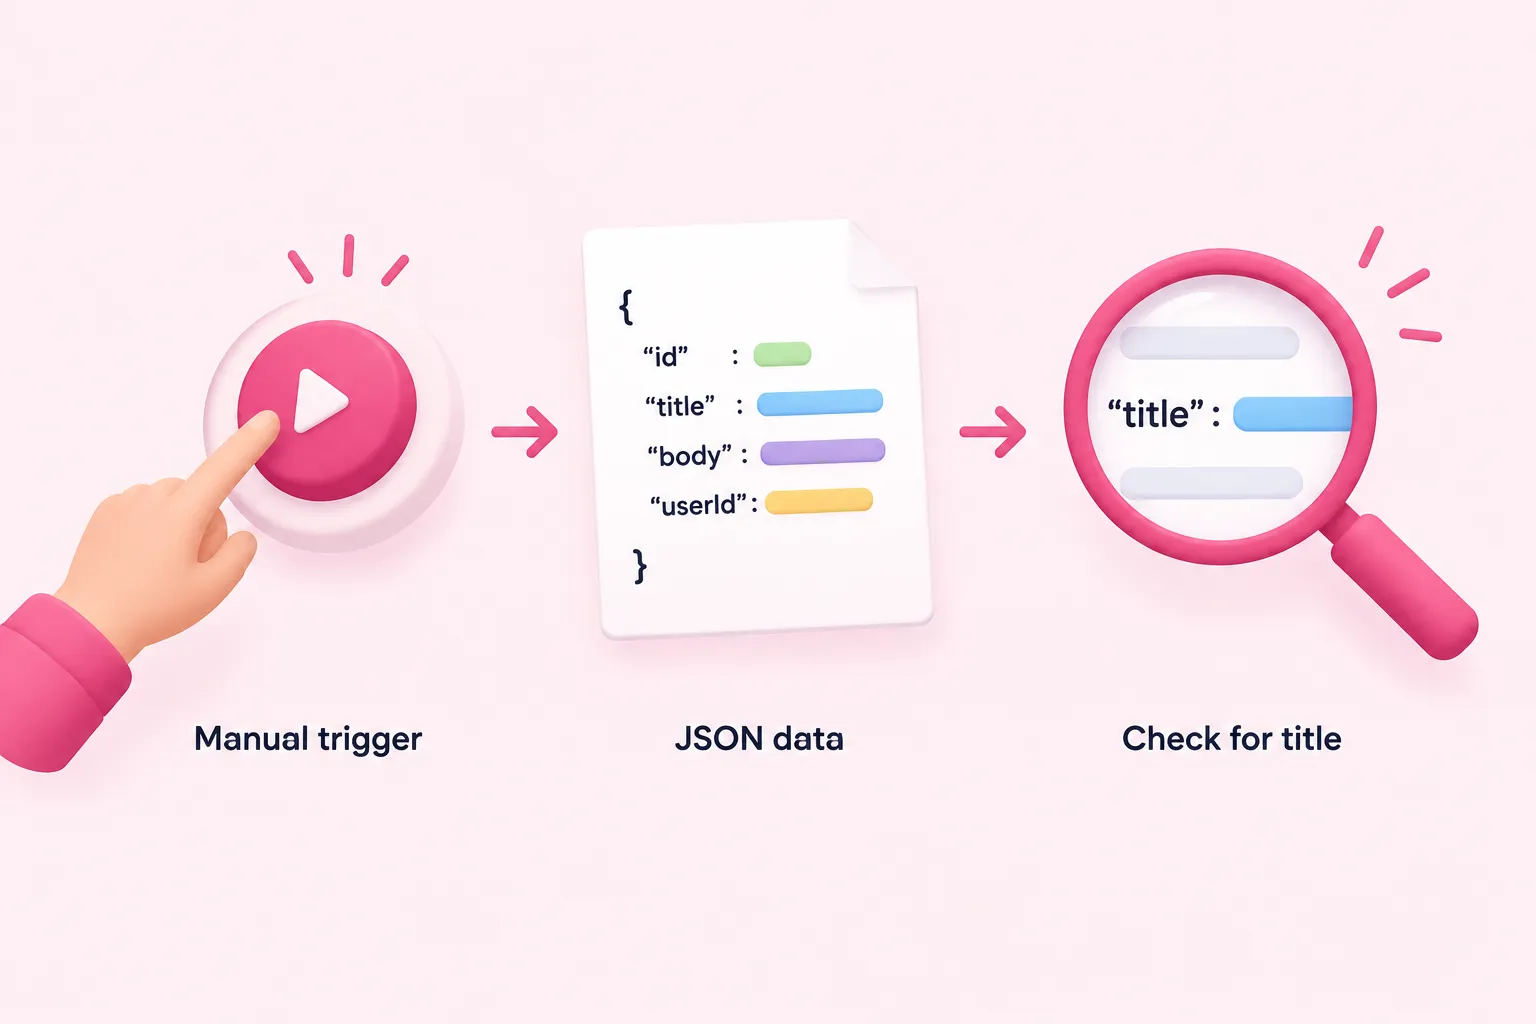
Open the HTTP Request node’s output before adding the mapping. JSONPlaceholder documents the post-1 response as an object containing id, title, body, and userId. Confirm that the current item in your own output includes a title field. This inspection is part of the workflow-building process, not merely a final check.
Pay attention to the distinction between field names and field values. The field name should be title, while the value is the text returned during this execution. Because the documented example abbreviates that value, treat the node’s current output as the source of truth for the mapping exercise.
If you do not see the expected object, stop here rather than constructing an expression from memory. Confirm that the Manual Trigger ran, that the HTTP Request node also ran, and that you are viewing its current output. Resolving an upstream problem now is simpler than diagnosing an empty mapping later.
Step 4: Map the title with Edit Fields
Add an Edit Fields node after HTTP Request. Select Manual Mapping mode, then create a field to set and name it title. Using the same output name as the incoming property keeps this first transformation easy to follow.
In the INPUT pane, locate title in the item produced by HTTP Request and drag it into the value control for your new title field. n8n documents that dragging input data into a parameter generates an expression that references that data. This is preferable to guessing the expression because it uses the data currently available to the node.
Inspect the generated expression before running the node. It should refer to the incoming title value rather than fixed sample text or an unrelated property such as id or body. If the INPUT pane is empty, execute the trigger and HTTP Request again, then return to Edit Fields once current upstream data is available.
Step 5: Execute and verify the complete workflow
Run the complete workflow from the Manual Trigger. Follow the execution path from left to right: the trigger starts the run, HTTP Request retrieves the post object, and Edit Fields evaluates its mapping against the incoming item.
Open the final Edit Fields output and confirm that it contains a title field. Compare its value with the title shown in the immediately preceding HTTP Request output. The two values should correspond because the final field is mapped from that incoming property.
This verification checks the concrete goal of the tutorial: data entered through an HTTP response has reached a deliberately shaped final output. It does not validate every possible production concern. The workflow remains a focused practice example for requests, input inspection, expressions, and field mapping.
Troubleshooting: Inspect each node in sequence
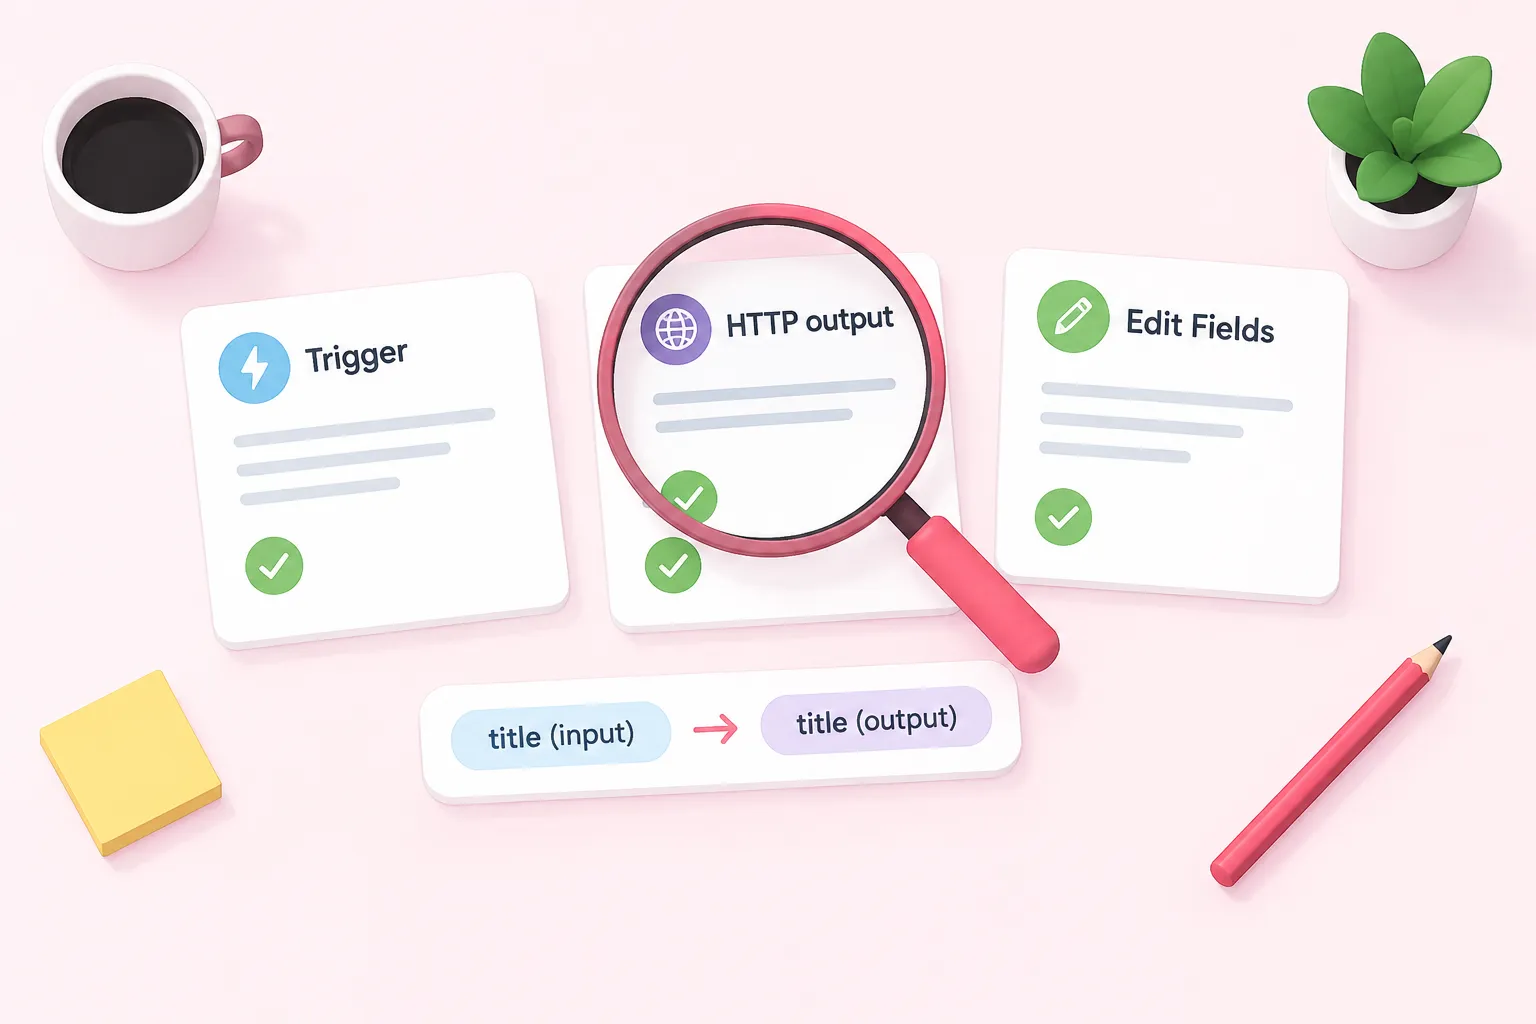
When the final result is missing or incorrect, inspect the workflow in execution order. First, confirm that the Manual Trigger started the current test. Next, open HTTP Request and verify that it completed successfully and that its current JSON item contains title. Finally, open Edit Fields and examine both its INPUT data and generated expression.
If HTTP Request has no useful output, check the selected method and reconstruct the destination from the JSONPlaceholder host and /posts/1 path. If the response exists but title is absent, inspect the actual object rather than assuming the documented structure appeared in this particular run.
If HTTP Request contains title but Edit Fields does not, verify the expression in the Expression Editor and make sure it references the incoming title. Delete any fixed placeholder value and drag title from INPUT again if necessary. When INPUT itself is unavailable, rerun the workflow or the upstream nodes before editing the mapping.
This node-by-node method narrows the location of a problem without assuming its cause. The official guidance for missing data similarly recommends manual testing, confirming that previous nodes ran, and checking expressions. Button names may differ in your installed version, but the diagnostic sequence remains trigger, request data, mapping input, expression, and final output.
Next practice challenge
Once this workflow works, consider repeating it with a suggested variation: map both title and userId, rename one output field, or deliberately reference the wrong property and then diagnose the result by inspecting each node. These are editorial practice suggestions, not validated assessments.
You can also apply the same sequence to another learning task: trigger a workflow, fetch structured data, inspect the current item, transform selected fields, and verify the final output. Change one element at a time so you can identify which change affected the data.